No products
Categories
- Courses
- Rods
- Reels
- Lines
- Leaders and Tippets
- Wading
- Clothing
- Bags and Packs
- Accessories
- Flies
- Fly Tying
- Books & DVD
- Gift Vouchers
- On Sale
- Arcay
- Orvis
- Simms
- Smith Creek
Using CDC with the Dubbing Loop by Gerhard Laible
Published: 2016-11-17 23:20:13
Categories: Fly Tying
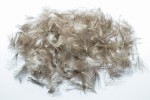
There are a few details that have to be taken into account when you want to produce CDC-fibre brush. If the CDC-feathers are well prepared and if you are using the right tying instruments then you will be able to create CDC-brush like you need them.
Preparation of the CDC-feather
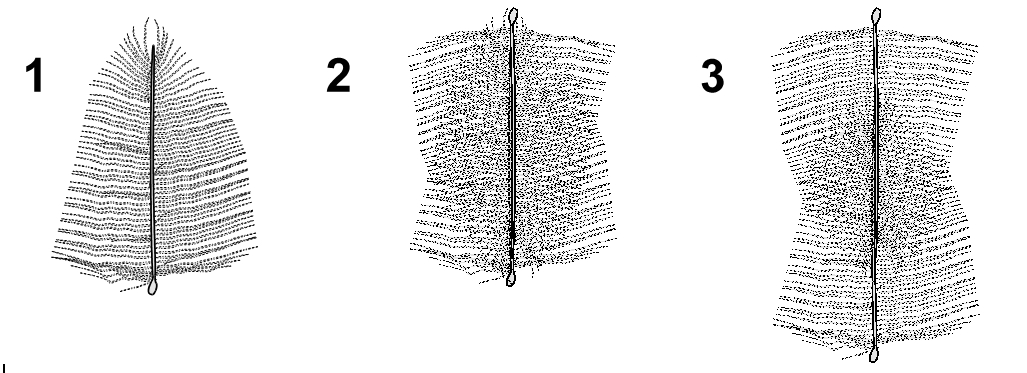
Pic 1:
First of all, remove all fluffy fibres at the end of the feather-quill with your forefinger and your thumb. At a natural CDC feather, this are always the white fluffy feathers. The next step is to bring the fibres into a 90 degree angle to the quill. If there are any too long fibres then take your scissors to cut them to length. Please notice that the fibres are usually shorter at its top and longer at its beginning.
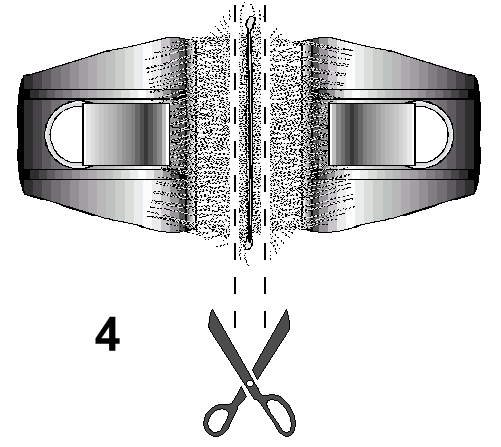
Pic 2:
If you want to increase the density of the CDC fibres then you put two prepared feathers above each other - quill on quill. At the same time you can also adjust the fibres to the right length. When you put the feathers together you turn one feather by 180 degrees and please consider also the arch of both feathers. The concave sides, thus the inside curved part fit together in a perfect way. It does not work in a different way.
Pic 3:
You can increase the length of the brush by moving the fibres apart or together.
Of course, you can also use more than one smaller or mid-sized feather for these three variances. But you need a little more practice to put quill onto quill with more than one feather. For a equal density of the dubbing-loop the well prepared feather with the spread fibres (90 degrees to the quill) and the proper positioning of the fibres into the loop is always very important. You should also adjust the length of the fibres in the loop to the size of the flies you are going to tie. Through the use of different coloured CDC feathers, you can achieve different colour compositions.
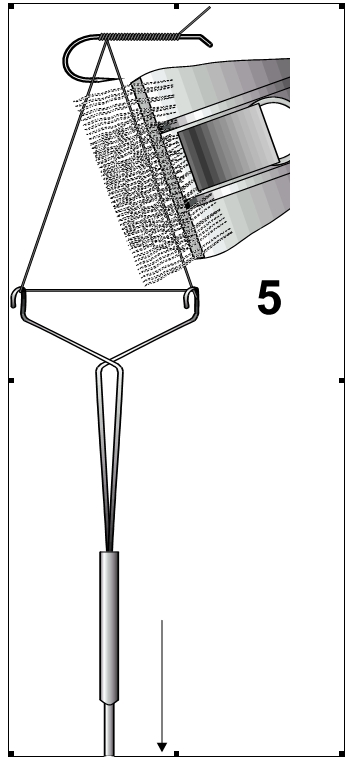
Pic 4:
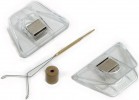
Now you take the well adjusted CDC-feathers with your forefinger and your thumb on one side of the quill. You take the transparent clamp with your other hand then you move the open clamp along the quills. You should do it in this way that it is possible to hold all the fibres with a clamp on each side of the quills. Close the clamp if you are 3 to 6 mm next to the quills. Now is is very easy to put the fibres on the other side of the quill into a second clamp. Important, take care that the quills are still exactly above each other. Now you lay the two clamps with the included feathers on a table and you take your scissors to cut off the fibres directly at the quill. At this point you have completed the preparations for two dubbing brush, thus you can tie two CDC-flies.
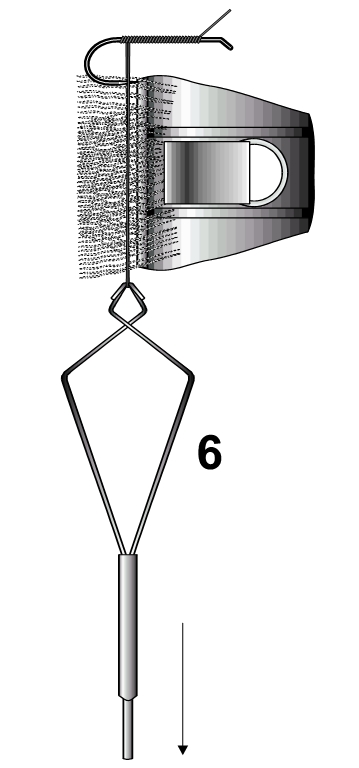
Pic 5:
The triangle of the loop is kept open through the tension of the twister-arms. Now you insert the CDC fibres into the dubbing-loop in the following way. Pull the twister downwards with your left hand that the loop is under a little tension. Insert the clamped fibres into the loop with the open side and move the fibres to the top of the loop as far as possible.
Pic 6:
Then you close the dubbing-loop through pulling down the twister. If the CDC-fibres are secured well then you can open the clamp carefully and remove it.
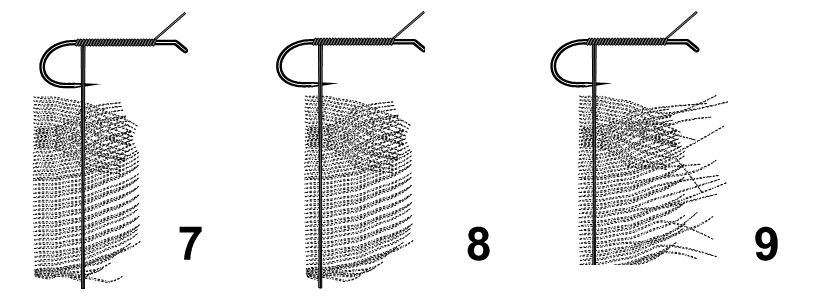
Pic 7:
Here we positioned the loop in the middle of the fibres and the fibres have the same length on each side of the loop. Like this you achieve a double-dubbing-brush, thus your result after twisting has a higher density.
Pic 8:
If you position the CDC-fibres very consist on one side into the loop, like shown on the picture, then your result is a single-dubbing-brush with longer fibres. The inevitable created smaller fibre-circle does not support the floating abilities of the fly. It is also recognisable on the picture that the endings of the fibres were cut to the same length.
Pic 9:
The tips of the CDC-fibres were not cut. This can be an advantage when your tying larger sized CDC-patterns.
The length-proportions of the CDC-fibres in the dubbing-brush can be determined differently through the different inserting of the fibres into the loop. The transparent clamps have a big advantage: you can only control the length of the clamped fibres and the depth of the inserting by using the transparent clamps. You have to choose the right length of the fibres for every different fly. e.g. you can choose between proportions like 1/3 to 2/3 or ¼ to ¾. If you want to tie the parachute dun, you should use the proportion of ¼ to ¾ .
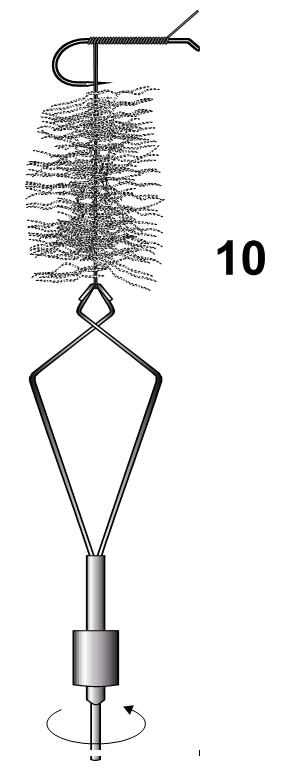
Pic 10:
You twist the loop so long until a equally formed fibre-brush is built. You test your brush by trying to pull out a fibre out of the brush. If is is not possible to pull out the fibre then the brush is right, if it is possible then the loop has to be twisted further on.
One last hint: The included weight has many situations of use. It is easy to put the weight on the grip of the twister and it also easy to take it off again. This means that you can use it whenever you want to. When you are using the weight, it is possible to twist faster through a higher rotation. The fibre-brush can be put aside very easily with the weight on as well. Then you can continue tying wings, hi-vis materials or anything else.

Dubbing Loop Technique by Gerhard Laible
Read more
Published: 2016-11-17 21:36:32